Building process for Boxes
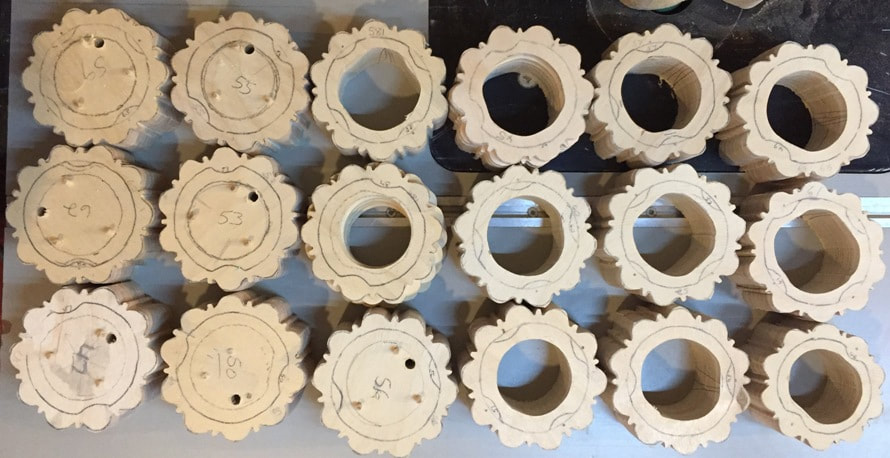
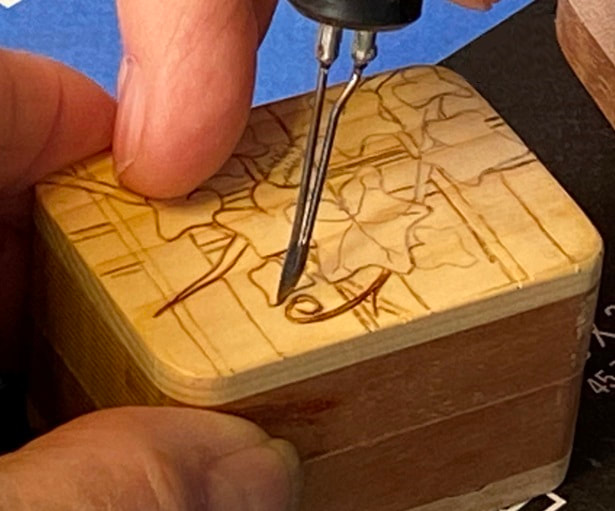
Building a wooden gift box is labor intensive. Each one is thought out, picked, carefully assembled. Sometimes John or Marian builds a run of 5 or 6 that are similar in size or shape.
Finding the right piece
|
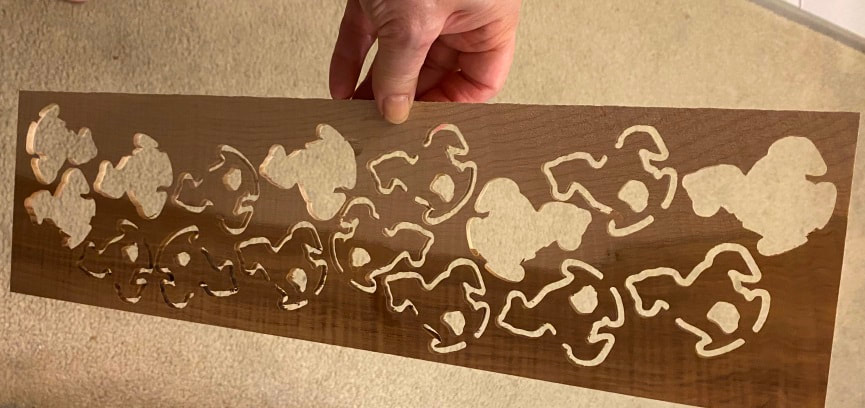
The process begins by finding the right piece of wood. Oak, balsamo, spalted cherry, padauk, Peruvian walnut, ash, imbuya. So many to choose from. Match the colors, pick contrasting colors. Plane it down to size for sides and bottom of the box. Same for the lid. Weave a top or cut a plank and bookmatch it. Usually we make the lid first, then build a box around it.
|
Assembly of lids, sides, hardware
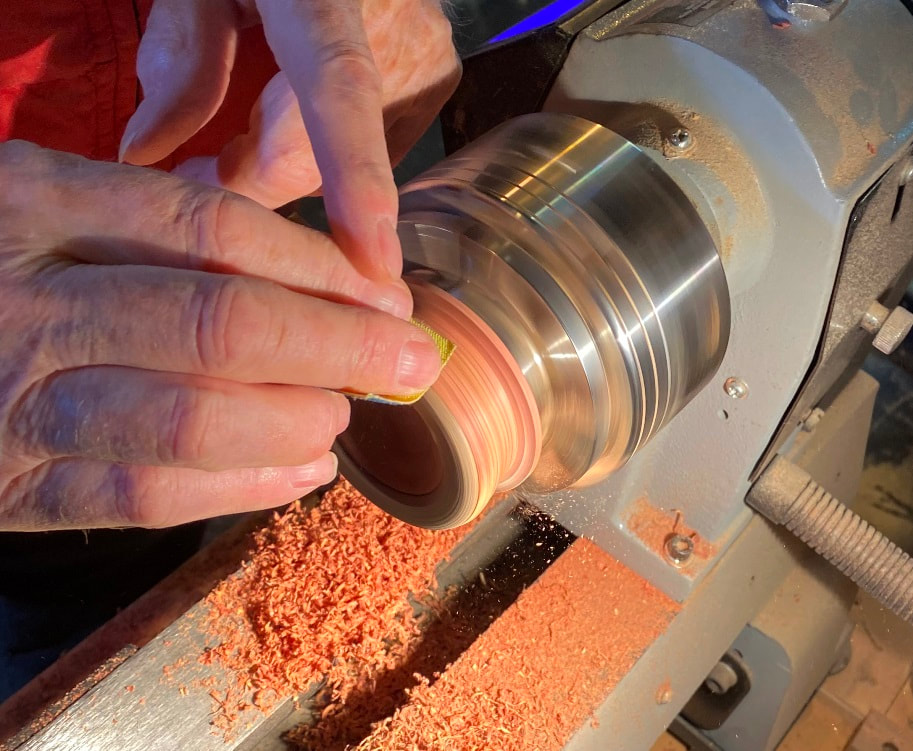
All sides and bottoms of each box are hand assembled, sized and sanded. The woven tops need to be sanded, lined, glued and cut to size. They get their first coat of oil. All sides are glued in place. Splines are picked for their contrasting color, shaped, inserted, glued, and sanded. Now the pieces are becoming a box. Once the splines are in place, the corners get rounded on the router and by hand with sand paper. If a lift is needed, we pick an interesting piece and shape it. Then it gets attached.
Final Details
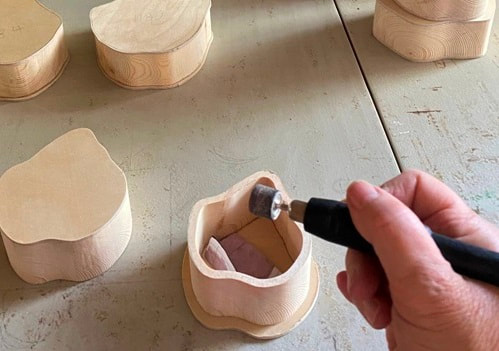
Did I mention these are hand made? More polishing. Next the boxes get oiled or varnished to seal the wood, and a final buffing. The inside gets finished. Each box is different in requirements and process. Last we line the inside with a soft velvet material, or use flocking.
Did I mention these are hand made? More polishing. Next the boxes get oiled or varnished to seal the wood, and a final buffing. The inside gets finished. Each box is different in requirements and process. Last we line the inside with a soft velvet material, or use flocking.
VOILA!


